
Submitting an invoice
Once a job has been awarded to your company, you can submit your invoice for it right from the Service Tickets tab. You can do this before or after you request completion, including while the job is...
Last updated
Once a job has been awarded to your company, you can submit your invoice for it right from the Service Tickets tab. You can do this before or after you request completion, including while the job is Awaiting sign-off. The job page also has an Upload Invoices card, described at the end of this article.
1. Open the invoice form
On the job's card, select Apply invoice. A panel opens on the right. The property and vendor (your company) are already filled in and locked, since they come from the job itself. If either is wrong, ask the property to correct the job, rather than trying to change it here.
2. Fill in the invoice
Enter your invoice number and the subtotal, before tax (both required). You must also attach the invoice file (next step). You can also add the invoice date, tax amount, a due date, and a short description of the work. If you leave the description blank, the job's own title is used instead. If you leave the invoice date blank, the property's date on the day you submit is used.
The invoice form, with the property and vendor locked at the top
Apply invoice
ST-4821 · Replace hallway light fixture · Maple Court Residences
Property (auto)
Maple Court Residences
Vendor (auto)
Bright Electric Co.
Invoice number *
e.g. INV-2026-0512
Subtotal, before tax *
0.00
3. Attach the invoice file
Drag and drop your invoice into the upload area, or select it to browse for the file. An invoice file is required: if you try to submit without one, you see "Attach an invoice file before submitting." Accepted formats are PDF, JPEG, PNG, and WebP, and the file must be under 10 MB. The upload area repeats this: PDF, JPEG, PNG or WebP, max 10 MB. See "Invoice file rules" for what to do when a file will not upload.
The file upload area
Drag & drop invoice file here
or click to browse · PDF, JPEG, PNG or WebP · max 10 MB
4. Submit
Select Submit invoice to send it to the property. If the property does not have full accounting turned on yet, you will see a notice saying so, and the button reads Submit anyway: your invoice file is still attached to the job and the property team is notified, it just will not appear as a formal expense entry on their side, so you should speak to them directly about payment in that case.
The accounting notice, when it applies to a property
Accounting is not available for Maple Court Residences.
Your invoice will be filed against this job and the property team will be notified. It will not create an expense entry in their books, so speak to them directly about payment.
5. How to tell it went through
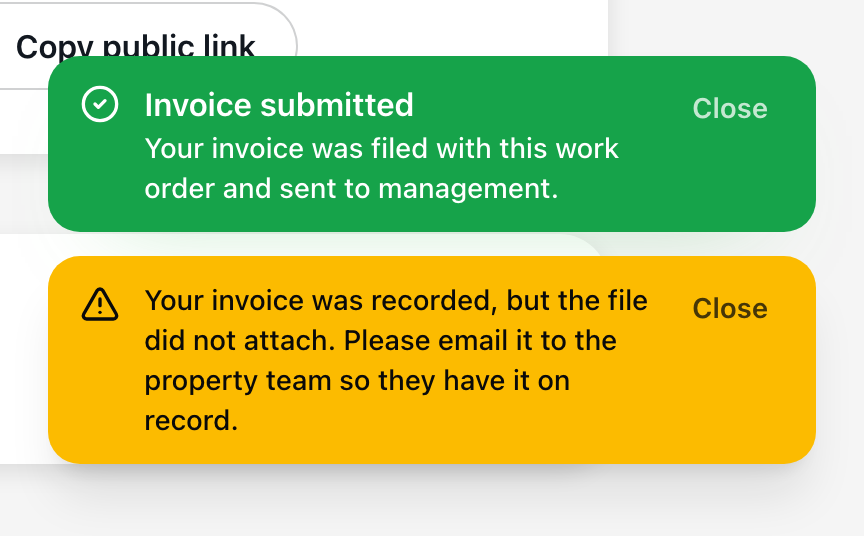
When the submission succeeds, the panel switches to a confirmation showing the invoice number, the property, and the job it was applied against, with a note that the property team can already see it. From there you can go back to your job list or apply another invoice right away. A confirmation message also appears briefly at the bottom of the screen.
If the confirmation shows an amber warning that your invoice was recorded, but the file did not attach, your invoice is saved but the file did not make it to the job. Do not submit it again. Email the file to the property team so they have it on record.
Your submitted invoice then also appears on the Invoices tab, where you can track its status until it is paid. See "Getting paid" for what happens next.
Submitting from the work order page
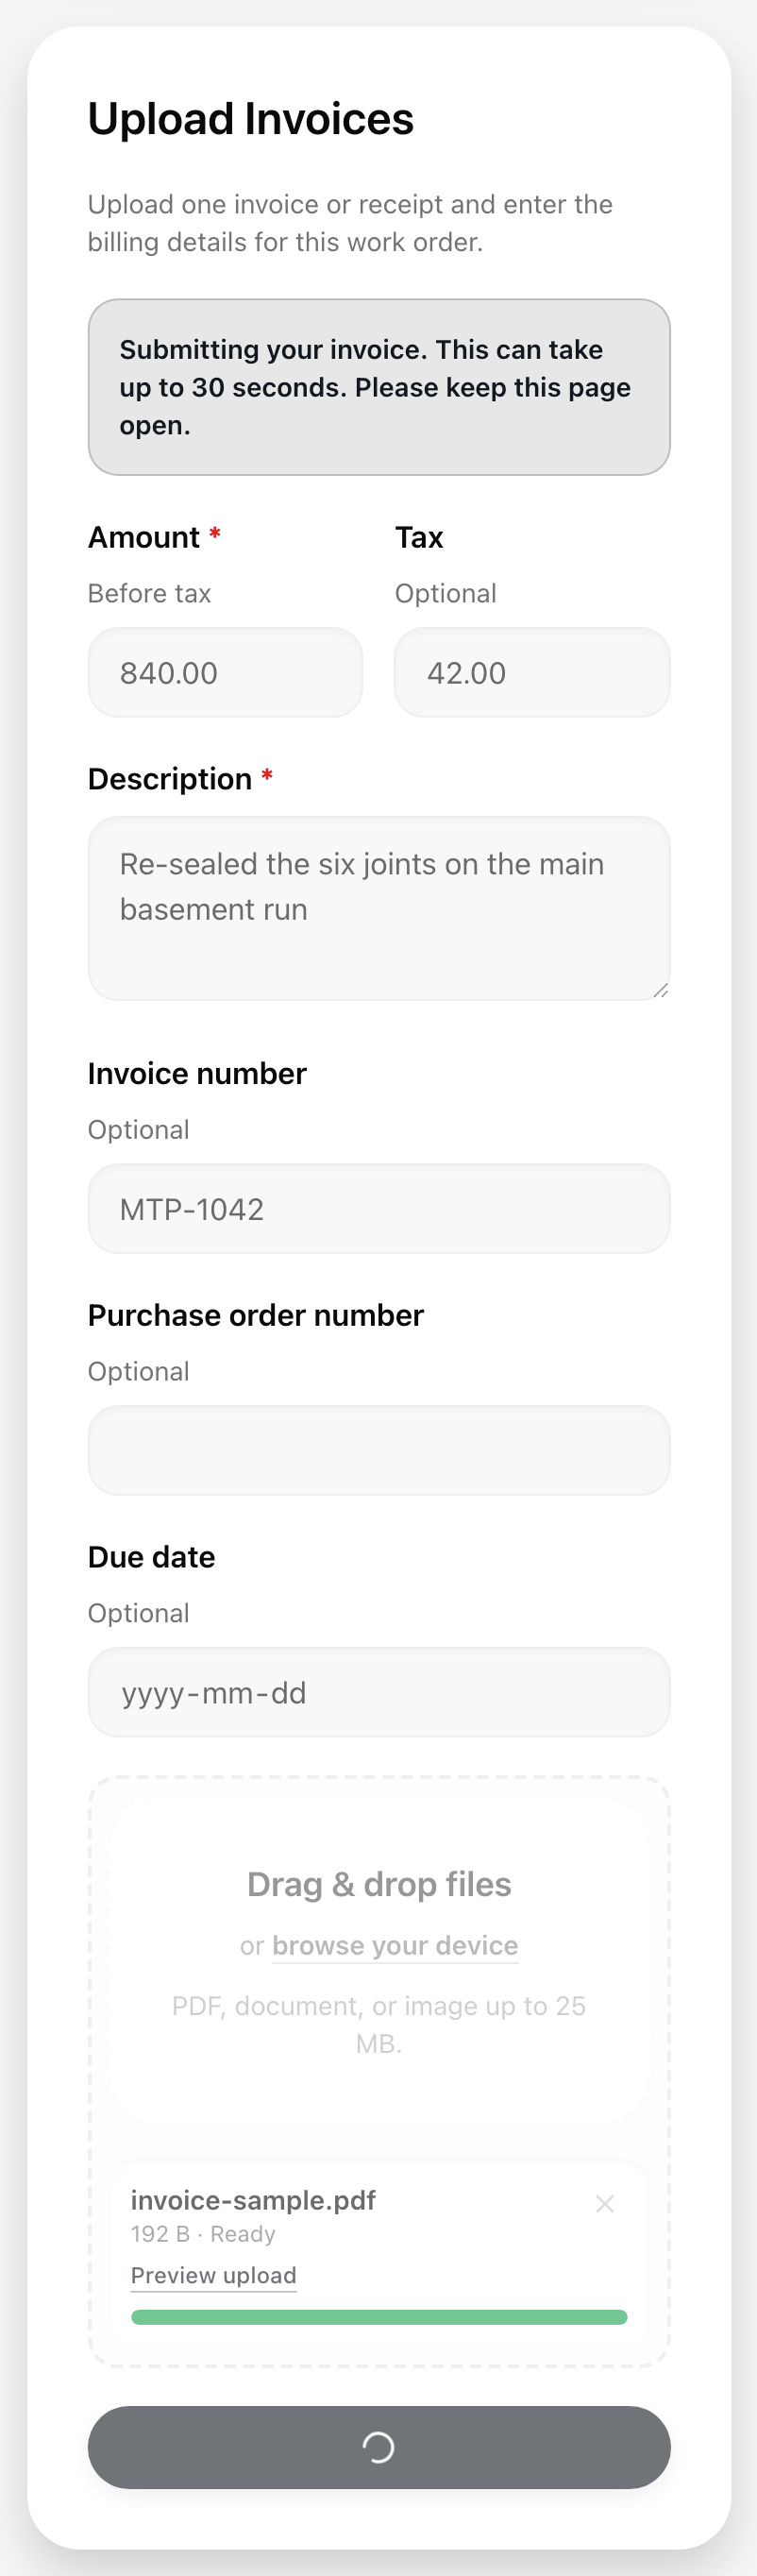
If the property sent you a direct work order link, the job page has an Upload Invoices card. Upload one invoice or receipt, check the billing details, and submit.
While it sends, a Submitting your invoice line appears at the top of the card. It can take up to 30 seconds, so keep the page open and do not submit again. When it finishes, the line is replaced by Invoice submitted successfully. If the file could not be attached, a warning message appears for a few seconds with the same advice as above: your invoice was recorded, so email the file to the property team. The next articles go deeper: "Apply an invoice from a job," "Send an invoice from your work order," and "Invoice file rules."